Tuesday 28 June 2016

HDR

Experimenting with HDR Photography

With this post I will be experimenting with high definition images, which I have edited using Photoshop to create the final pieces. To create these images I needed to take 3 consecutive images. One normally exposed, one under exposed and one over exposed. These images were then merged within the computer programme to provide an almost 3D depth of field to the photograph.


Artists Photography - Girolamo Cracchilio 
The artist whom I have chosen to research regarding HDR photography is Girolamo Cracchilio. He is a foreign photographer who bases his work around the topic of landscapes,and is a regular user of the HDR technique. The photographs are very artistic in composition and the use of reflection on the water is an effect which particularly drew me to his images.  Light also plays a large role within his shots and the sunsets are visually striking.  The wide angle lens is used to a great effect as it almost allows the image to wrap around you and you become drawn into the photograph.  

The second image i have looked at by the artist also features a landscape scene, but this image uses the HDR effect to draw out both the colour in the land and also sky. The sunset is the focal point of the photograph and is the first thing the viewer will look at due to the strong orange tones. This orange hue envelops the scenery and is very pleasing to the eye.  It creates texture on the water and silhouettes on the land. I will keep this in mind when I photograph my landscapes and try and use the light to an advantage.  In this second image cloud formation plays an important role as it almost billows out from the centre of the photo. This creates interest and helps to showcase the colourful sky to it's best ability.

The final image by Girolamo Cracchilio i have chosen to feature in this post, is quite different compared to the two above. Once again the image uses the HDR effect to create a dramatic sky whilst also creating contrast with the rocks and sea below. The clouds again are very prominent, however, this time, they are almost used to mirror the texture of the sea below.  The rock formation in the foreground of the image is also a good way to draw the eye into the frame.  These rocks seem to be more in focus, showing higher detail, but this effect enables the rest of the shot to take on an almost dreamy atmosphere which I like.
This is my favourite image of the three, due to the fact that it is more gloomy than the previous, however it still creates a striking atmosphere and the use of light within the composition is very clever.


My Own Photographs

This was the first image which I created using photoshop and the HDR technique.  Like with the images of Girolamo Cracchilio, I tried to mainly focus on the sky and the formations of the clouds.  
I edited the detail within the image as much as possible to enhance the separation within the clouds, whilst also being able to see the foliage on the trees in their true colours. I used the tree to frame my shot and the leaves in the top of the frame and the bottom of the frame helped to create a balance in my photograph. I tried to replicate the gloomy atmosphere from the last photograph by Girolamo Cracchilio and I was pleased with the result.


My second image has been taken to try and entirely focus on the tree as a subject. I positioned the tree in order to try and draw the viewers eye to the bark as it showed the most detail within the photograph. The contrast levels were also edited to make the leaves look more artificial and stand out more against the dark sky. The rich green colour provide the photograph with strong definition which I thought enhanced the shot.


My final image was the photograph that I was least happy with due to it not featuring the vivid colours that the previous two had. I also felt that I must have slightly moved the camera in-between images, as they don't properly align and therefore, a slight shadow is formed within one of the images used.  This image did not have the interest of the first two, the colours did not lift the shot and the composition was not successful.  The definition of the leaves is missed as there is not enough contrasting textures and unfortunately the shape of the tree is not striking enough to be a focal point of the photograph.


Contact sheets


Tuesday 21 June 2016

Photography Mock Exam 2

Photography Mock Exam 2
Artist Research and Information.
(Andre De Freitas - MEGATHERIUM)

Andre De Freitas is a occasional photographer and Illustrator who is based in Peru. He studied animation at university which lead to his enjoyment of photography especially concentrating on the double exposure technique. 
All of his double exposures are based around people and many of his photographs also show the natural environment and city life which drew me to his work as my theme was touched upon in an imaginative way. Many of De Freitas' images are in black and white which I find creates more depth and definition to the shots, as well as making them look more 3D. I enjoyed his images imenseley and I was inspired by what could be created by using a portrait, natural landscape image and a computer.

Examples of Andre De Freitas' work
The first image above, features a younger child fused with a monochrome cityscape photograph. I think that De Freitas decided to keep the image in black and white to help capture the large amounts of detail in the face and the eyes of the child.  This works very well and achieves a modern visual style and creates emotion within the photograph. The lights of the buildings in the image have been cleverly and strategically placed in the shot to highlight the high points of the face, such as the nose and keeping the background darker has allows the two photographs to both be equally viewed.  The lines of the buildings in the background are kept clean & sharp whilst the image of the child is softer. I like this contrast and hope that I could achieve a similar effect within my photographs. 


The second image I have chosen as an inspirational piece is by the same artist, however, this image uses tree branches merged with a further portrait shot to again create a highly striking photograph.  Again, like with the city photo, the tree branches are kept darker and sharper, whilst the girls face is much softer.  I think the artist uses the branches of the tree to create the illusion of hair and skin and I liked this idea. I also liked how the branches carried on past the face to create a more natural look.  This time, the artist chose to use colour rather than keeping the piece monochrome and I think that the use of colour enhances this image giving a clear definition between the girl and the tree.  The white background is also clever as this concentrates the eye exactly where the artist wants you to focus.


The final image which i have chosen to study is again by the same artist, however, this time, the image features a side view of a human head rather than a full face shot.  By using this technique the focus is altered and the photograph becomes more about the city buildings which are used as the main focal point.  The silhouette of the head becomes the background and the buildings are moved into the foreground of the shot.  I liked this use of silhouette and it made me realise that I can choose whether to use the landscape or the person as my background and I can achieve a different effect when making this choice.  I began to experiment with images.  I found that some images which had strong lines, like roads in them worked well, like the building's in De Freitas work.


Experimental Pieces
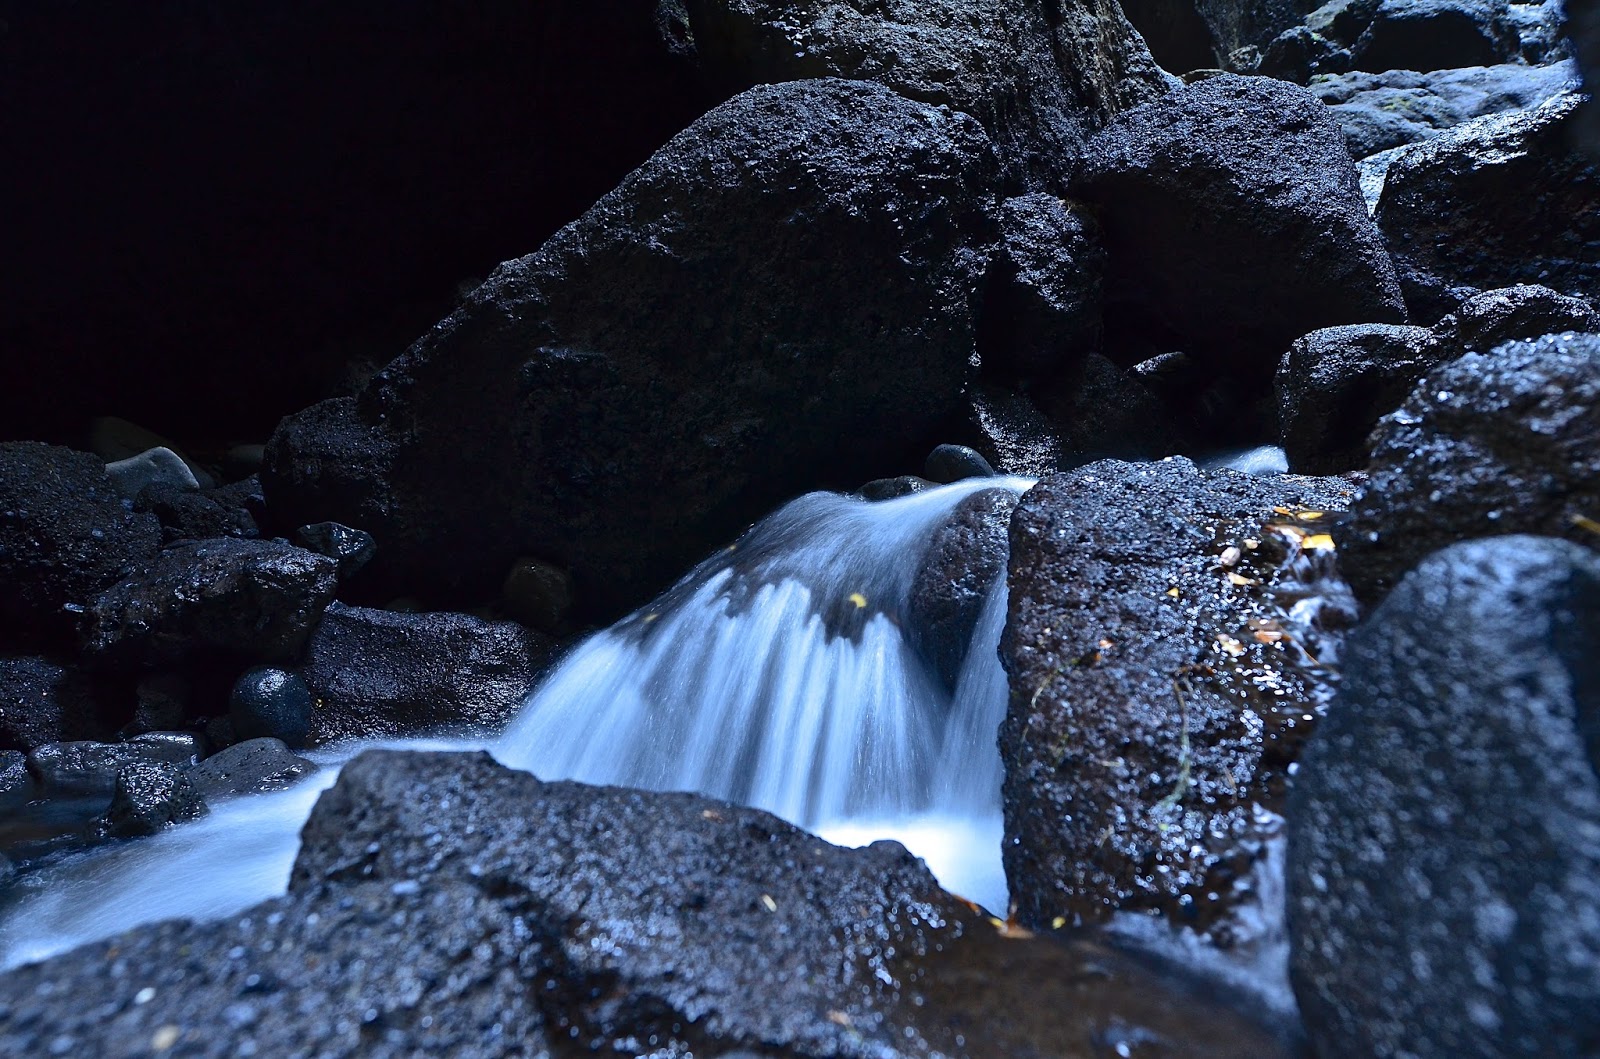
To create my experimental pieces, Firstly I began by selecting suitable landscapes which I thought would produce interesting backdrops for my photographs.  I concentrated on interesting shadows & light, interesting cloud formations, strong natural structural shapes and visual textures which would hopefully produce some workable double exposure images.  I remembered the creative use of depth of field by Ansel Adams and tried to position the camera in different angles as well as lowering myself to the ground to extend the landscapes in my shots.  I found that my changing the viewing angle of my work, I could create better isolation.  I then tried to take some strong portrait shots which showed emotion in facial expression and a clear outline to work with which I hoped would allow my images to blend well together.


This is my practice piece which I have created to try out a few different ways of making double exposures. I used the first artist image as my inspiration to create this and found that the clean lines of the road merged with the softer head shot gave me the contrast that I was looking for. I also liked how the photograph was depicting a full landscape scene rather than just a tree or a flower as I think that this created drama within the photograph. 

 Both of these images have been taken by me and I decided to keep them in colour as the light of the sun through the clouds created a lovely tone to the shot. I used Photoshop to blend the portrait with the Icelandic scenery and I was happy that both photographs could be enjoyed as the detail was retained in each one.


This is the final image which i experimented with and overall i was not entirely happy with the end result. Instead of using a full landscape, I chose to concentrate of a natural texture instead, but the fusing of these images did not create the depth and detail of my first piece. The definition of the raindrops was lost and I also thought that the edges of the portrait image were far too sharp which again took away any focus on the background image. 
For my final photograph I will need to let the two images blend together more successfully and this will be down to experimentation and careful choice of images.The two photographs must compliment each other but at the same time, need enough contrast to create depth, definition and an overall pleasing merger.


Contact Sheets


Experimenting With Coloured Light

Experimenting with Coloured Light

This week due to the poor weather conditions I decided to experiment with colour changing lights to see if i could create an interesting effect.  Whilst studying Man & Nature, I have found that sunlight can have a huge effect on a photograph and the use of light within a composition can create great mood within a shot and also very dramatic results can be achieved when using silhouettes and white backgrounds.  In the same way, vivid colour can also be used to enhance a photograph and draw the eye to an area of the composition and similarly, colour can be removed to create highly details monochrome images.  I decided to explore colour as a technique a little further.

Artist Photographs
My first two artists images have been inspired by the Harris Shutter effect, whereby a strip device with three color filters is used to create striking color photographs with the different primary color in layersEven though my images are created slightly differently, I thought the overall effect was very similar which I managed to achieve. The above image shows how colour can be used successfully to enhance an image.  The fun colourful birds in the photograph add an additional dimension to a very traditional cityscape image and add an element of movement to the shot.  I like the way the artist ensures that a large proportion oft he image is sky to enable to coloured birds to be emphasised even further.

 
 The above second image, again draws on the Harris shutter effect, and again uses colour in a clever way to enhance an image.  I loved the way that although the original photograph is simple in subject, the use of colour creates a very striking final photograph. I love the way that the vivid bold blocks of colour used in the surfer silhouettes, contrast really well with the very dull grey sea used as the backdrop. This sea, however, is given a lift by the wave crests being given colourful highlights which gives the final shot drama and a modern twist.

The above final artist photograph was taken by Andrew Gibson who is an amateur photographer and freelance author who enjoys experimenting with photographic techniques and writing about the technical and creative aspects of photography. Gibson shows a different way of using coloured light to enhance a photograph by using it to paint colours onto a landscape.  Gibson uses this technique to enhance landscapes taken at twilight.  Most landscapes are generally  lit by ambient light, taking advantage of the beautiful quality of the natural light in the evening. Andrew, however, uses light painting to highlight parts of a scene, incorporating torchlight and coloured filters into his work to create stunning visual effects.

My Photographs


 My first image above, was taken whilst I tried to emulate a similar style to the Harris shutter effect at home in our patio.  I used two different coloured lights, a small torch and a subject with a strong silhouette to try and recreate a visually striking photograph.  I liked the above image as the green and red lighting created an almost overlapped effect with both colours providing depth and interest to the black shapes cast on the wall by the plant shadows.  The torchlight helped in providing an uplight in order to create these shadows and I think that this white light also helped to brighten the image and give more strength to the shadows created.


My Second Image again is taken within my patio using similar equipment.  this time, however, I decided to soften the coloured lighting tomes and concentrate of giving a coloured hue to my photograph.  I again tried to use a strong focal shape as my subject and use the coloured light to create shadows, brighten the shot and give the photograph added interest.


For my third and final image, above, I decided to concentrate on a singular colour and see how one primary colour could be used in order to produce an interesting photograph. I used a colour changing LED light positioned in a typical household setting to see how colour could enhance an image.
The single blue bulb worked really well, giving various shades of blue in all areas of the frame and it gave the furniture in the image a dark silhouette and the room had a lovely blue glow.  I positioned the bulb behind the wine glass which stopped too much glare being produced and also gave a good lit focal point to the shot. I also liked the shadows cast on the walls from the lamps which gave added interest.

Contact Sheets


Shoot like Cartier Bresson

Shoot Like Cartier Bresson


For this weeks task we were asked to shoot like a particular photographer (Cartier Bresson). Cartier Bresson is an artist who captures pictures of strangers on the streets and develops them in black and white.  He is considered to be a master of candid photography and his work has been admired by many for it's humanist approach to street photography.  His images all capture a specific moment in time and almost tell a story due to their high level of detail and raw emotion. I enjoyed exploring his work and learned a significant amount regarding composition and the use of black and white which I can hopefully incorporate in some of my images.


Artists Photographs
The above image which Cartier took, shows an elderly man with a tea cup and his camera.  It could be interpreted as his two passions, and what he enjoys. The detail in this image is what drew me to it initially.  By using Black and white, we are able to see the grain in the leather of the man's jacket and even the veins in his hand. This artists photographs are constantly taken in black and white, which I really think helps gives more detail to his photographs and brings them to life.  The positioning of the camera is interesting as it is almost directly central to the shot and is pin sharp, whilst the man's eyes are looking up giving the impression he is deep in thought.


This image which has been produced by the artist, although taken a lot earlier again tells a story.  We are left wondering about the conversation that is taking place and the expressions which have been captured by the people allow us to ask questions about the shot.  The clothing that is worn by the people in the photograph again brings texture to the piece, however, this time the detail is not quite so pronounced and it is the patterns of the clothing which provide the contrasts.


And finally one of the artists most famous photos, taken in 1932, shows a different style to Bresson's work. This image strays from his regular techniques of capturing static street images and this time incorporates some motion within the piece.  As the man running is slightly blurred, we get the impression that he is in a rush and again we are left wondering what he is running from or why is he in such a hurry?  I like the use of reflection in this photograph and this early example of water reflection ties in with my theme of man and nature.  I think that overall sharp detail is not really necessary in this image as the silhouettes that are formed still allow the viewer to form a story in their minds and a dramatic image of life at the time is still portrayed.


My Own Photographs 
This image was taken on the streets of Reykjavik in Iceland.  I have tried to replicate the artists well known style of photographing unknown people in a street setting. I loved how Bresson was able to capture different personalities and cultures, through the eye of the camera lens and I think that this shot comes close to Bresson's story telling technique which he adopts in his black and white images. I, like Bresson, have also made sure that my images are monochrome as this enables the details to be enhanced.  The texture of the cobbles and the pavement are clear in this photo which I was pleased with and I think that this image does leave the viewer asking questions regarding what the man will choose for his meal.

My second image is of a tourist, who is photographing the well designed graffiti art which had been sprayed upon a local building. Again this image was taken in Reykjavik and was shot on a busy street in the city centre.  With this image I tried to capture a different perspective within my piece.   As the man is also taking a photograph, i feel it makes the viewer consider what it is he is photographing, allowing the focal point of the image to become very clear.  I positioned him off centre in order that his view through his own lens could be seen more clearly.  The contrasting lines of the graffiti work very well in black and white and the trees work well to frame the shot and I began to understand how monochrome images could composed.

My final artist image was again taken in Reykjavik, and shows a local man sitting outside a coffee shop having a drink.  With this image I liked how the overall mood was so calm and although it was taken in the city centre, the man is able to relax and watch the bustle of city life from his chair on the pavement.  This time, I experimented with the angle of the shot and I hoped that this would create more interest.  This time I experimented with keeping a large portion of the street in the frame.  The lines on the road, I thought, were interesting and I think that they enhance the image and give it more texture.


Contact Sheets

Aperture And Shutter Speed

Aperture And Shutter Speed

This task was to experiment and play around with the settings on our cameras in order to see what type of images we could compose and create. I really enjoyed this task as it not only allowed me to become more familiar with my camera, it made me understand how my photos could be enhanced by a small alteration in setting and a completely different effect could then be accomplished.  


Artists Photography - Shutter Speed
This image uses a relatively slow shutter speed, you can tell this by the lights featured on the cars are blurred and also the cars are not shown in the image at all. I found this produced a really dramatic effect giving a river of light snaking through the whole photograph.  The street lighting creates lovely starburst of light to further enhance this and overall the image is highly eyecatching and dramatic. I like how this image almost looks abstract, however, we are reminded that the subject is real by the incorporation of the green foliage in the foreground.  

This image above has been taken again by slowing down the shutter speed and I loved the way that altering the length of time the shutter rei9ned open allowed a completely different vision of the water be portrayed.  I loved the soft feel of the photograph and could really get a feel for the motion of the waterfall.  This photograph also appealed due to the enhancement of colour which has been used.  The vivid green colours used really help to concentrate the viewers eyes to the flowing water.

The above final image was taken looking out over water at a firework display in the USA.  I found this image very striking and loved the way that the city skyline had also been captured together with the enormous firework which bursts above the water.  The photographer has framed this shot perfectly.  The firework casts a pink hue over the water which I found particularly pleasing and the light of the city buildings give more interest to the image.  I think that a huge amount of skill has been used in this photograph to enable to firework to be so clear and sharp, but also allowing the buildings on the horizon to be a big part of the overall effect.  


My Own Photographs
Experimental Images
I created this image using a very fast shutter speed, this was needed in order to catch the falling drops and suspend them in mid air.  I also used a relatively low aperture so that the subject of the image would be primarily based on the spoon and falling droplets rather than any distractions being provided by background.  Overall I was pleased with this first experiment with shutter speed, I liked the reflection created by the spoon and the glass and felt that this enhanced the shot. I decided that using a dark liquid would also draw the viewers eyes to the droplets rather than using water and I think that this worked successfully.

After my initial experiment with fast shutter speeds, I decided to then experiment by slowing the shutter speed downThe above image, taken of Teasel, my dog, shows the effect when the shutter has been left open for longer than normal. Unfortunately, she was not the most photogenic subject as she kept moving which is why the subject is blurry.  I began to understand that any movement which has taken place whilst the shutter has been open will result in a blurred, often overexposed shot.  I think the above image shows that too much light was let into the camera and a faster shutter on this type of subject would produce a much better image.


Final Images 

Based on my experimentation shots above, and my knowledge gained regarding shutter speed and light, I decided to try and photograph a firework display as the contrast between the fireworks and the dark sky should produce a pleasing image.  I began by setting my camera on a tripod as I knew that any movement would hinder my progress.  I then set my shutter speed to 5 seconds. I thought that if the shutter was left open too long, I would end up with trails of light similar to the car headlights which I did not want in this instance.  I did, however, need enough light to enter the camera to enable the full glory of the fireworks to be displayed.  I set my ISO to 100 for this shot and did not use a flash and was very pleased with the resulting images taken so continued to use the same setting for all my photos.  The main issue I found was actually managing to frame the firework in the centre of the shot, or take the photo when it was fully bursting. The photo above, I thought, was the most dramatic and well composed shot which I had taken and I preferred the burst pattern in this image compared to my other attempts.


The above final image was taken at a waterfall in Iceland which was sheltered in a steep gorge.  Again using my research knowledge I decided to balance the camera on a rock for stability and remotely trigger the shutter.  This technique allowed me to get substantially closer to the subject and I think helped a lot with capturing the wet rocks surronding the waterfall. Being lower to the ground, the scale of the waterfall is able to be disguised.  Actually, this was only a very small waterfall, however, by positioning the camera low to the ground, it gives the effect that the falls are large.  As there was no camera wobble, I was able to leave the shutter open for this shot for quite a long time - approx 20 seconds and I think this enabled me to get a lovely soft flow of water which I was particularly pleased with.  I also liked the fact that the black rock showed the flow of water off perfectly and nothing distracted you from the image's subject.
Contact sheets


Artist Photography - Aperture
This Image was taken by an artist called Emily Moore, The aperture is once again F/1.8,  with this photograph being taken with a low aperture it creates a blurred background of the other sunflowers, but then it allows just one to be in focus.

This image also has a lows aperture which has been shown by the very blurred back ground which surrounds the leaf. with this image i love how the subject of the image is a singular leaf, this has been done on purpose to draw the eye to the main subject. 


My own Photographs
This image has been taken during a moderately low aperture, this is shown by the background being out of focus, but you can still see the things featured in the background. I also liked how Teasel was not looking directly at the camera, which makes the audience wonder what had caught her eye. 


This image has been captured using an even lower aperture, I set it to F/1.8 to make sure the background was almost completely blurred, and like a block colour.
I decided to photograph this image like this because i loved how the image is so dramatic, because of her piercing eyes once again looking at a something other than the camera.


Contact Sheets